Deploy Ruby apps with AWS App Runner
General
The other day I blogged about the new AWS App Runner service, which allows you to build and run your containerised web application. With AWS App Runner, you can deploy your existing containers (from ECR), or use this service to build one for you directly from your code repository hosted on Github.
Compared to other services of this type in the AWS cloud, you do not need to have any experience. Instead of setting up EC2, ECS, or playing around with Fargate, you can simply push your application into App Runner, and have a production-ready solution. App Runner will do everything for you. Load balancers, TLS certificates. You don't have to worry about managing servers.
Until recent announcement, building applications from code repository option only existed for the NodeJS and Python runtime, but on 28 October this changed. New runtimes have been added, including Ruby 3.1. (Let's hope the same Ruby runtime version for Lambda will be available soon, as still for now version 2.7 is the only available Ruby runtime).
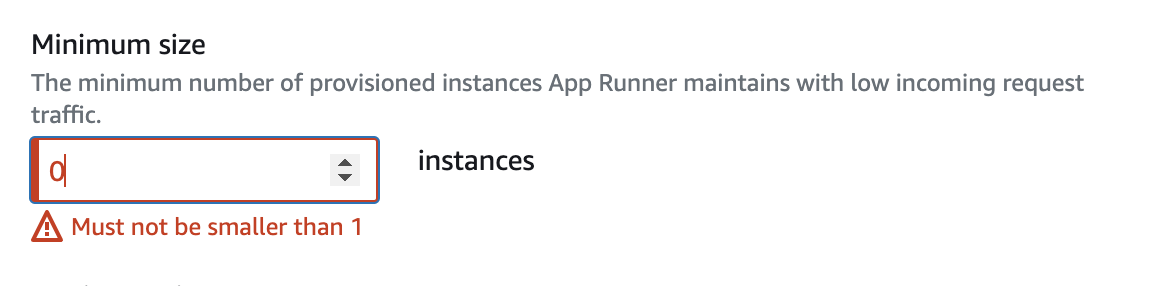
If someone were to ask me if this is a Serverless solution, I would say no. And this is because the minimum number of working instances cannot be scaled to zero, only to a minimum of one instance.
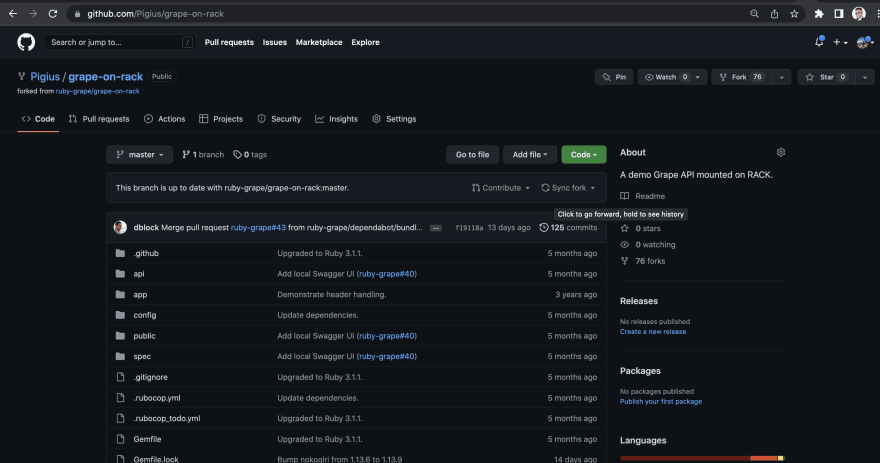
I chose open source ruby project. Let's fork it to our GH repositories.
Feel free to read the developer guide for Ruby.
However, let's change the Ruby project version from 3.1.1 to 3.1.2 - We can either set the App Runner minor version to 3.1, or we can also add a patch - 3.1.2, the App Runner will then either do a lock on 3.1 (minor), and increment the patch, or it will do a lock on the patch i.e. on 3.1.2.
Let's open the AWS console, and go to the AWS App Runner service. Please note that this service is not available in every region, here is a list of available regions:
- US East (N. Virginia).
- US East (Ohio).
- US West (Oregon)
- Europe (Ireland).
- Asia Pacific (Tokyo).
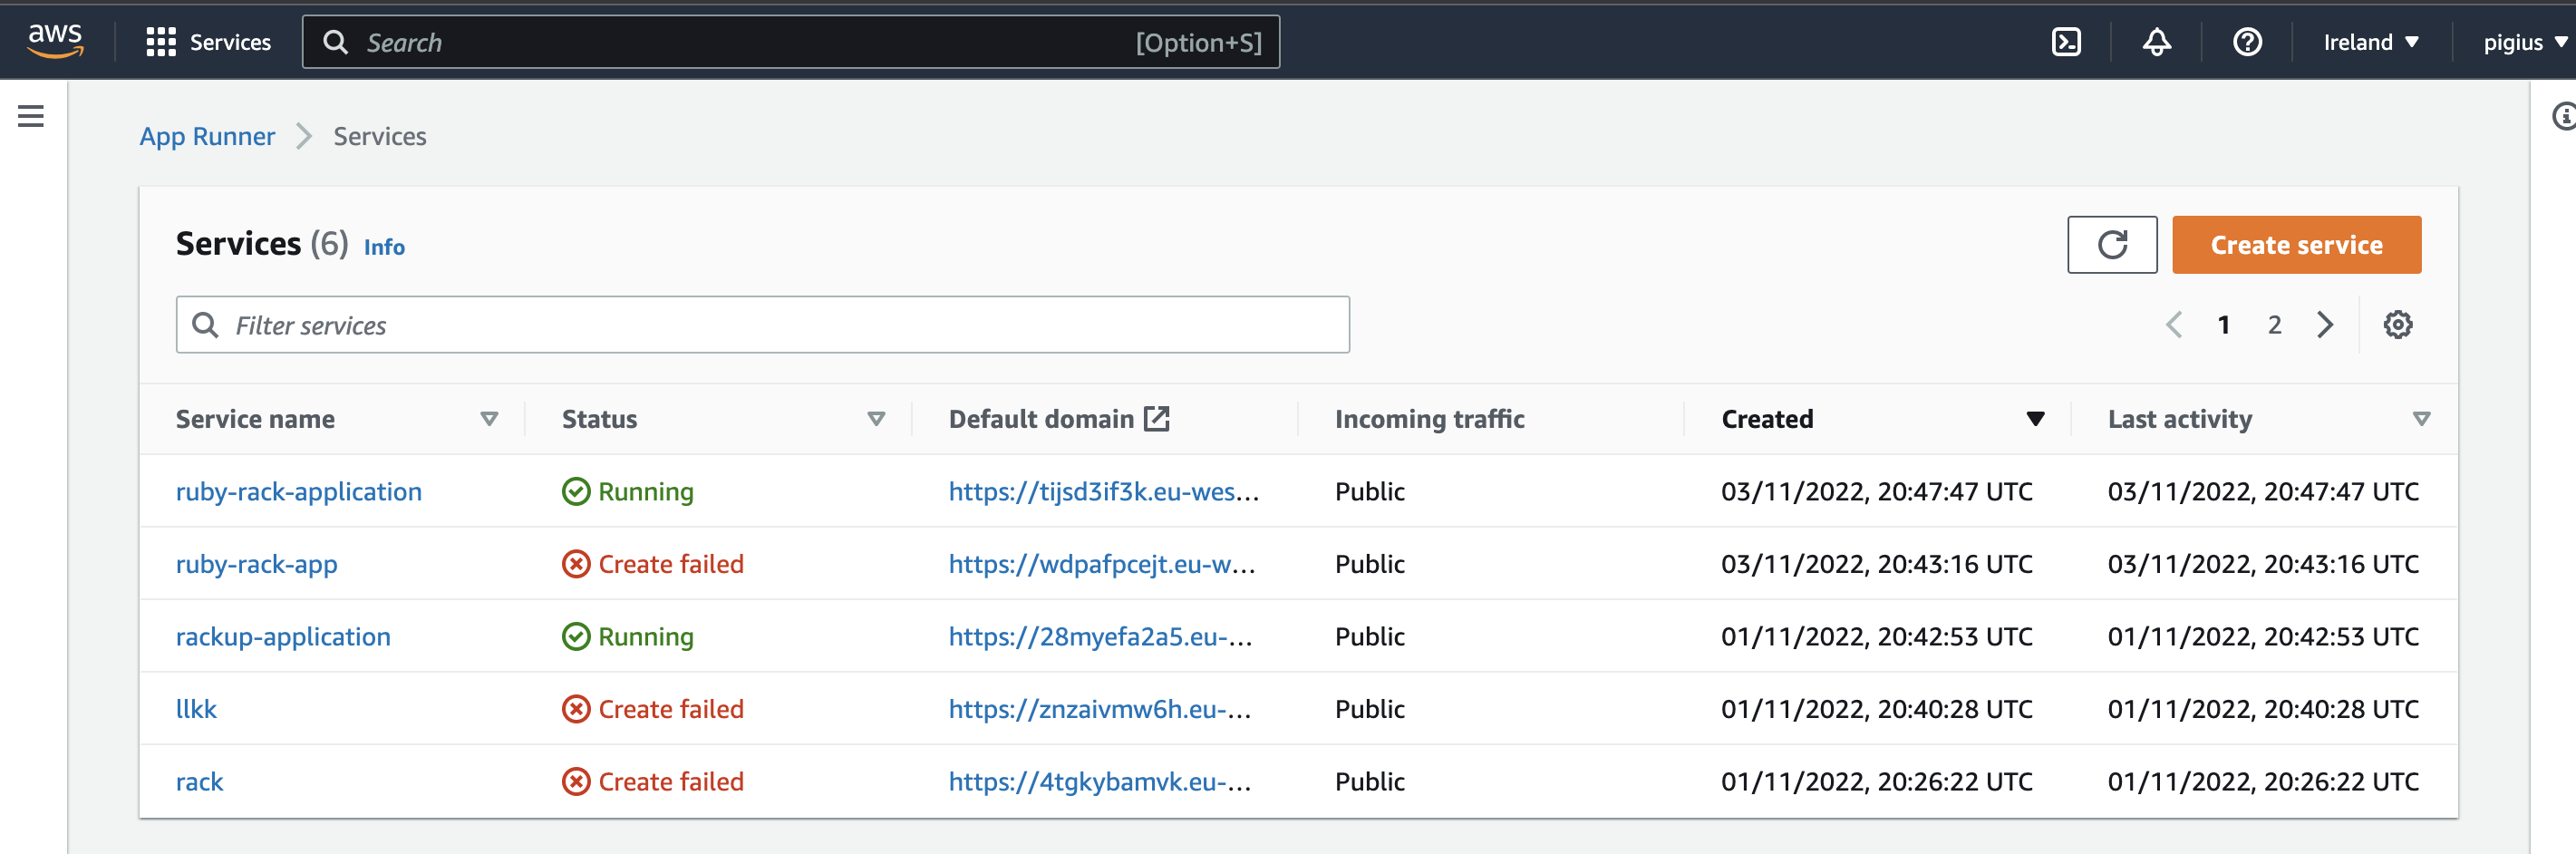
You will see a list of all the applications, as you can see not all of them I managed to deploy successively :) Let's start by clicking on create service button.
Step 1 - Source
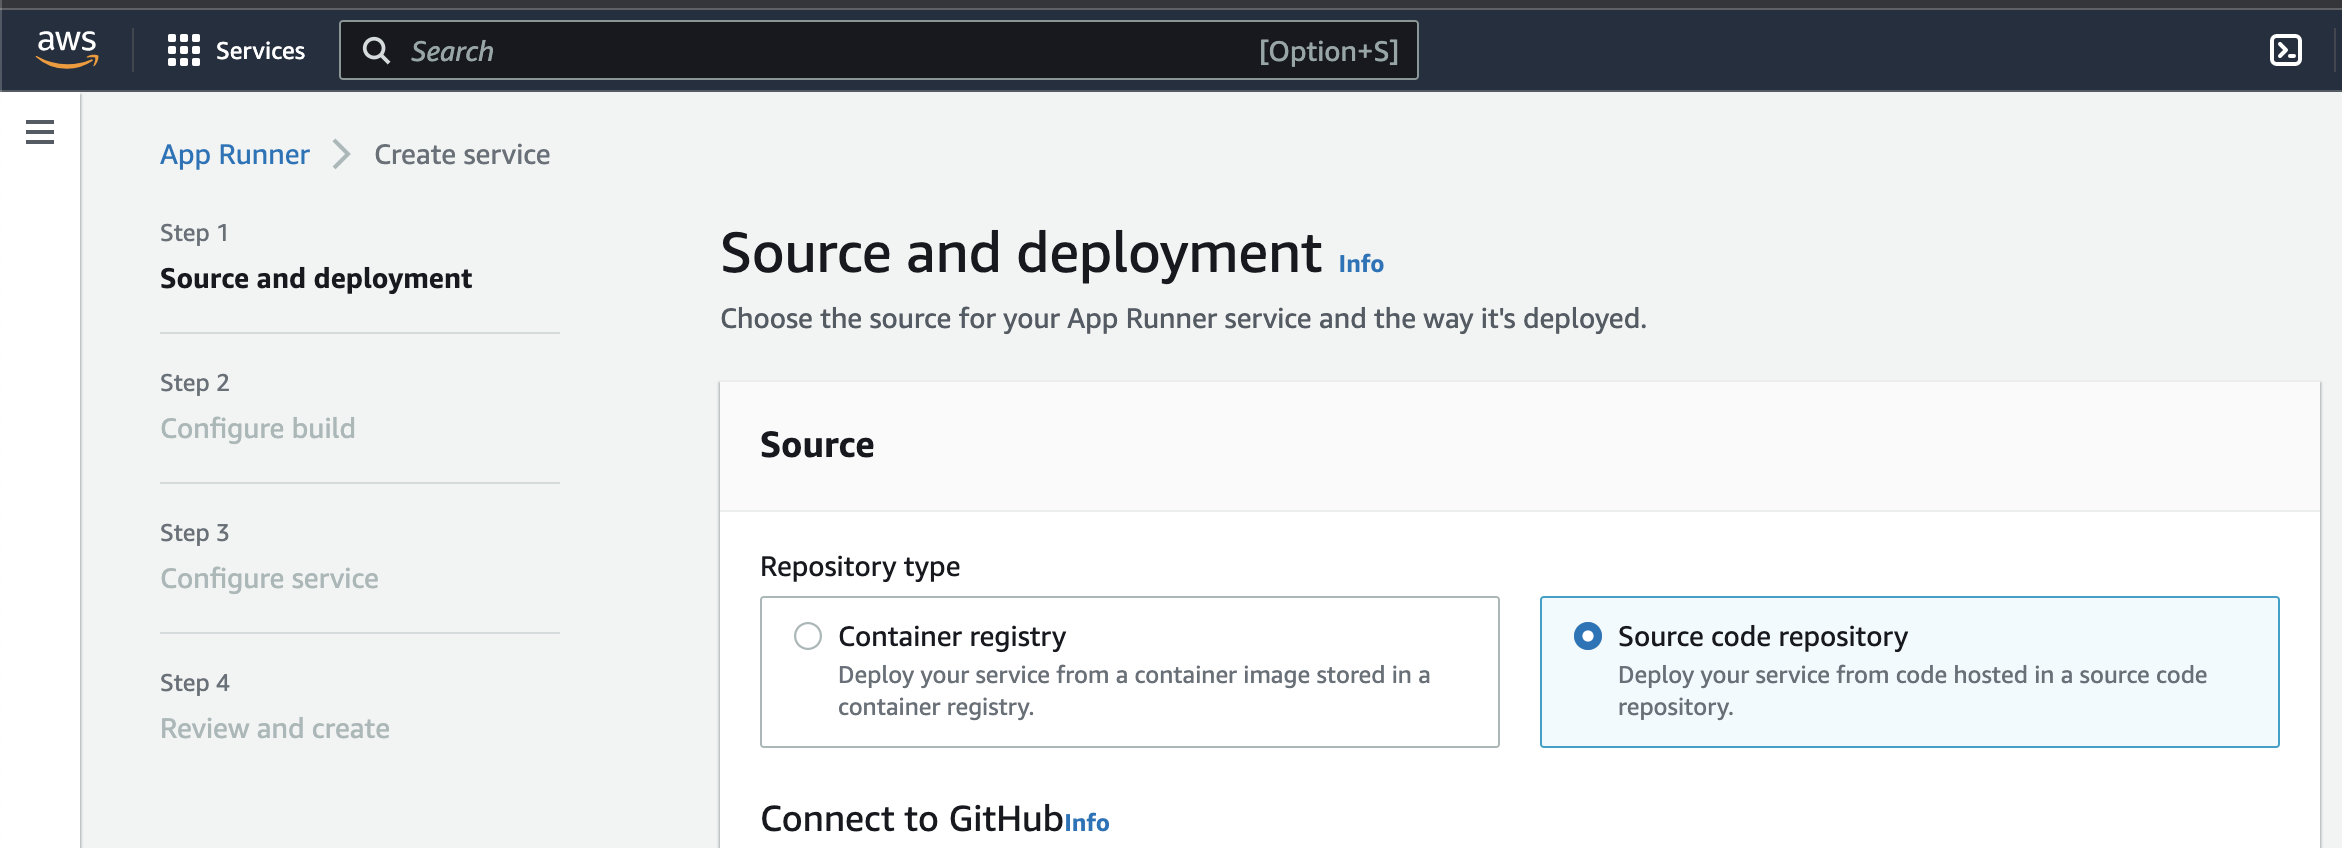
We have a choice of the source of our repository, ECR or source code. Select source code. We will need to connect to Github. Click add new to add the install AWS Connector for GitHub.
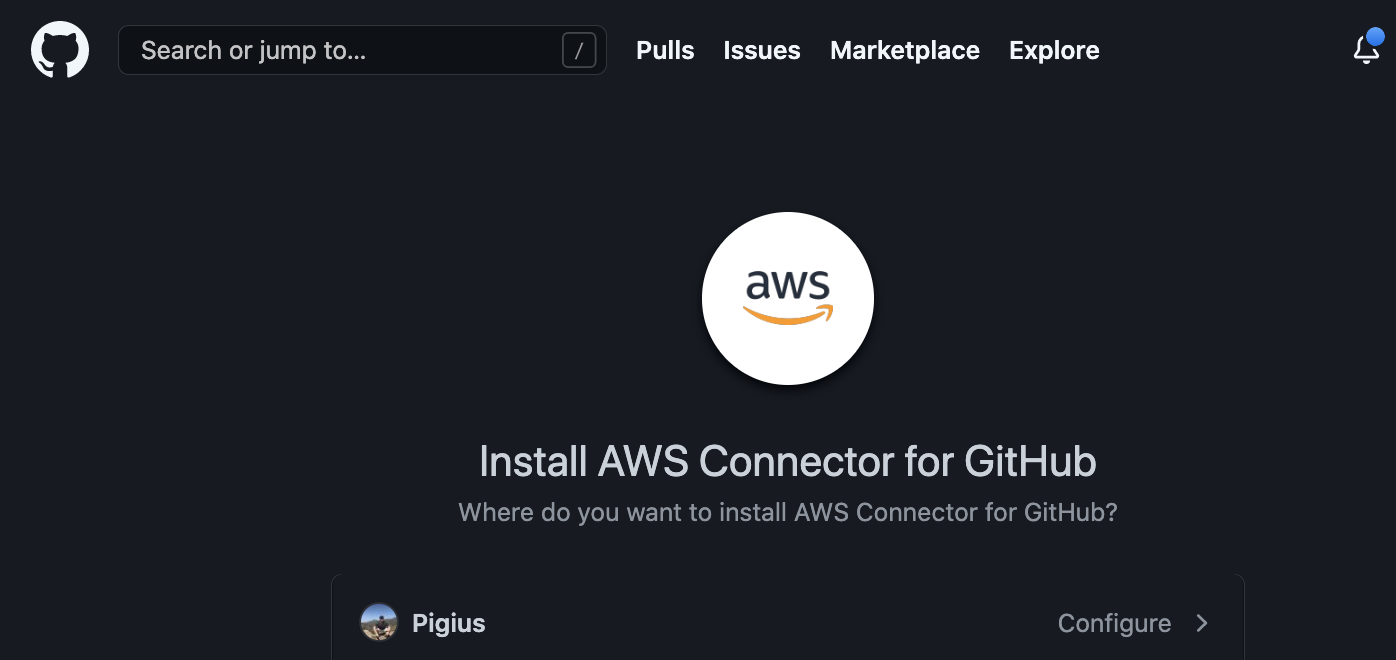
I would recommend adding access only to the selected repository, instead of all repositories.
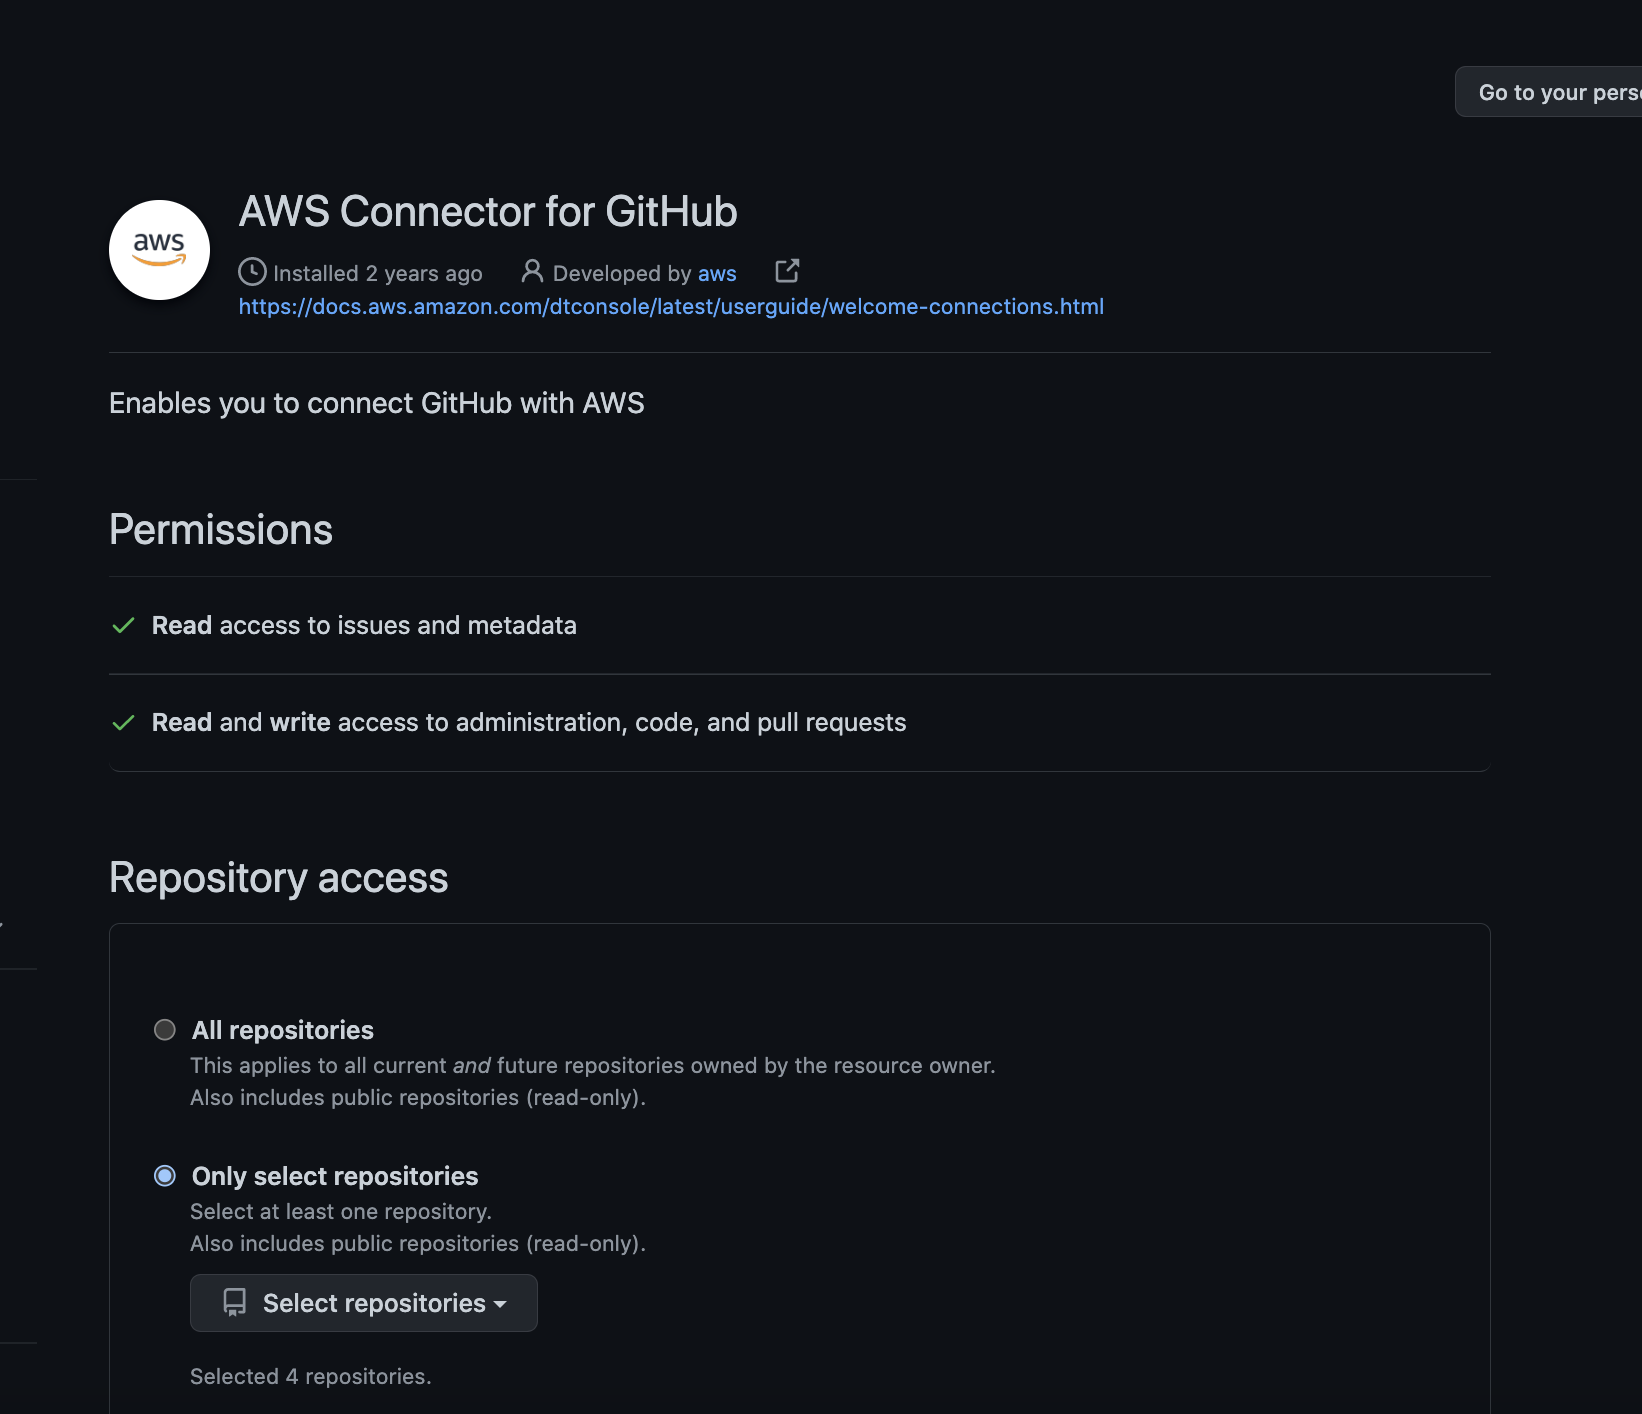
At the end you should see the name of the connection and the name of the profile on Github. Press next.
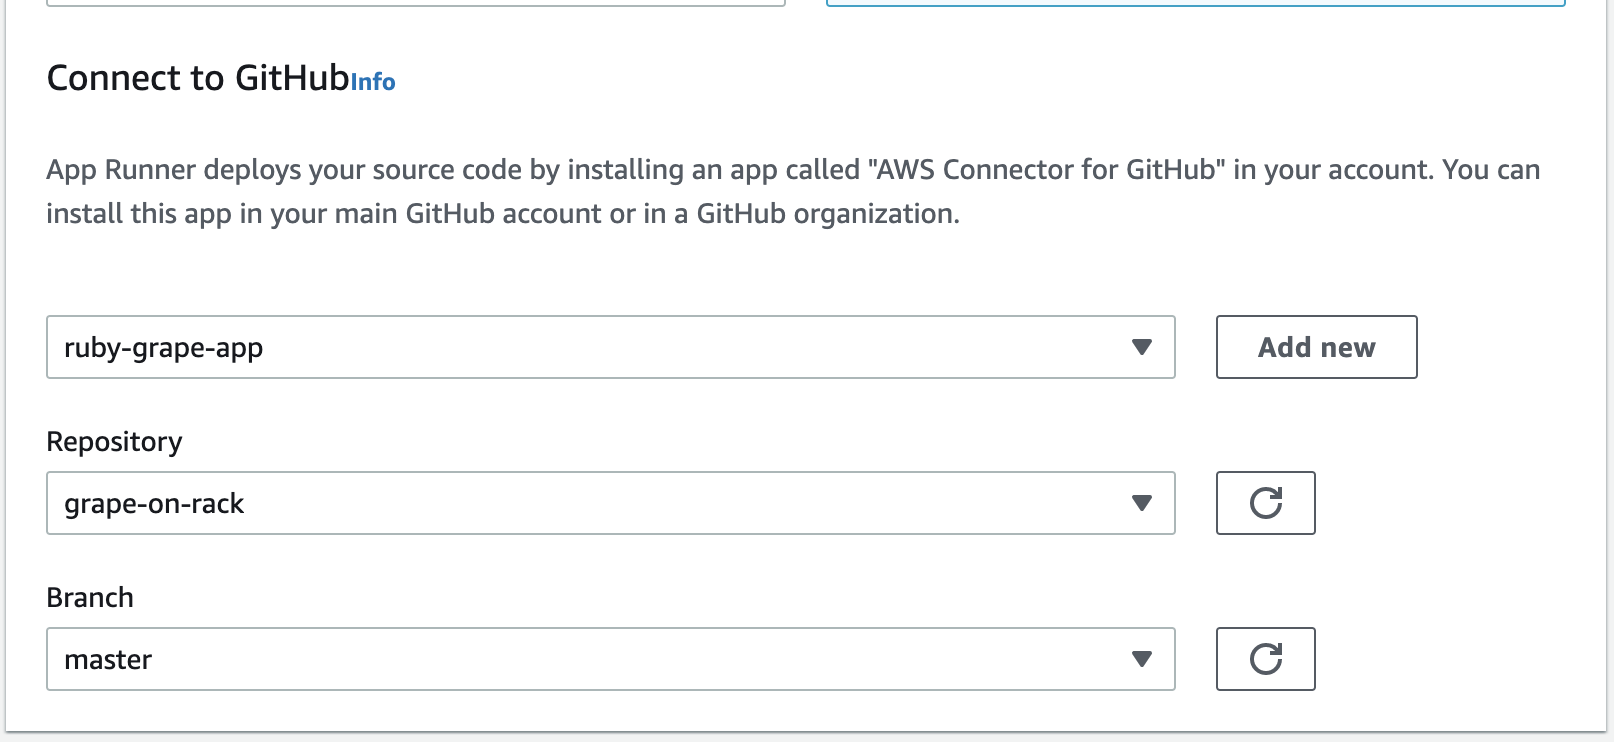
If all went well, you should see the name of the connection, be able to select your chosen repository from the list, and be able to select a branch.
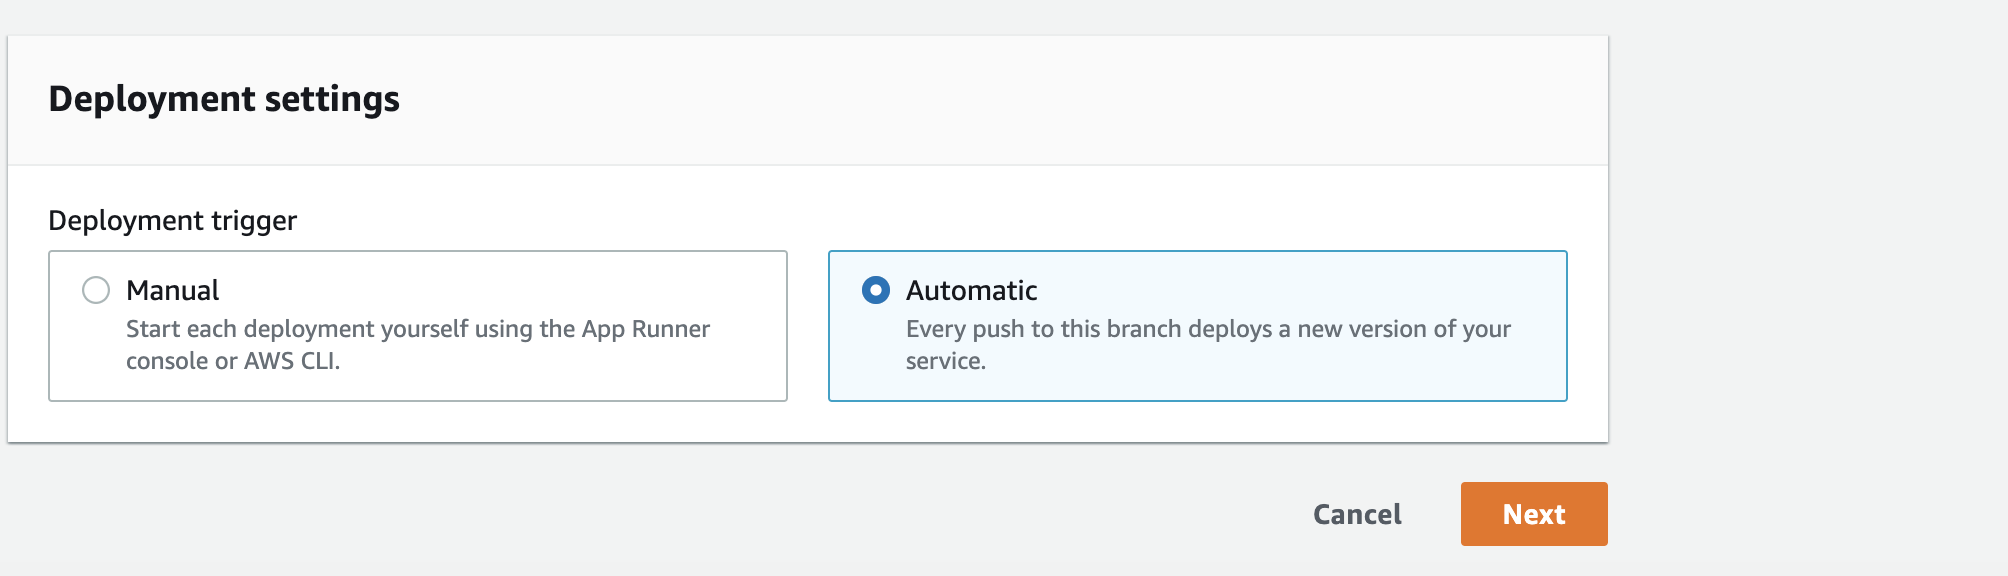
Then select Deployment settings - my recommendation is automatic.
Step 2 - Build settings
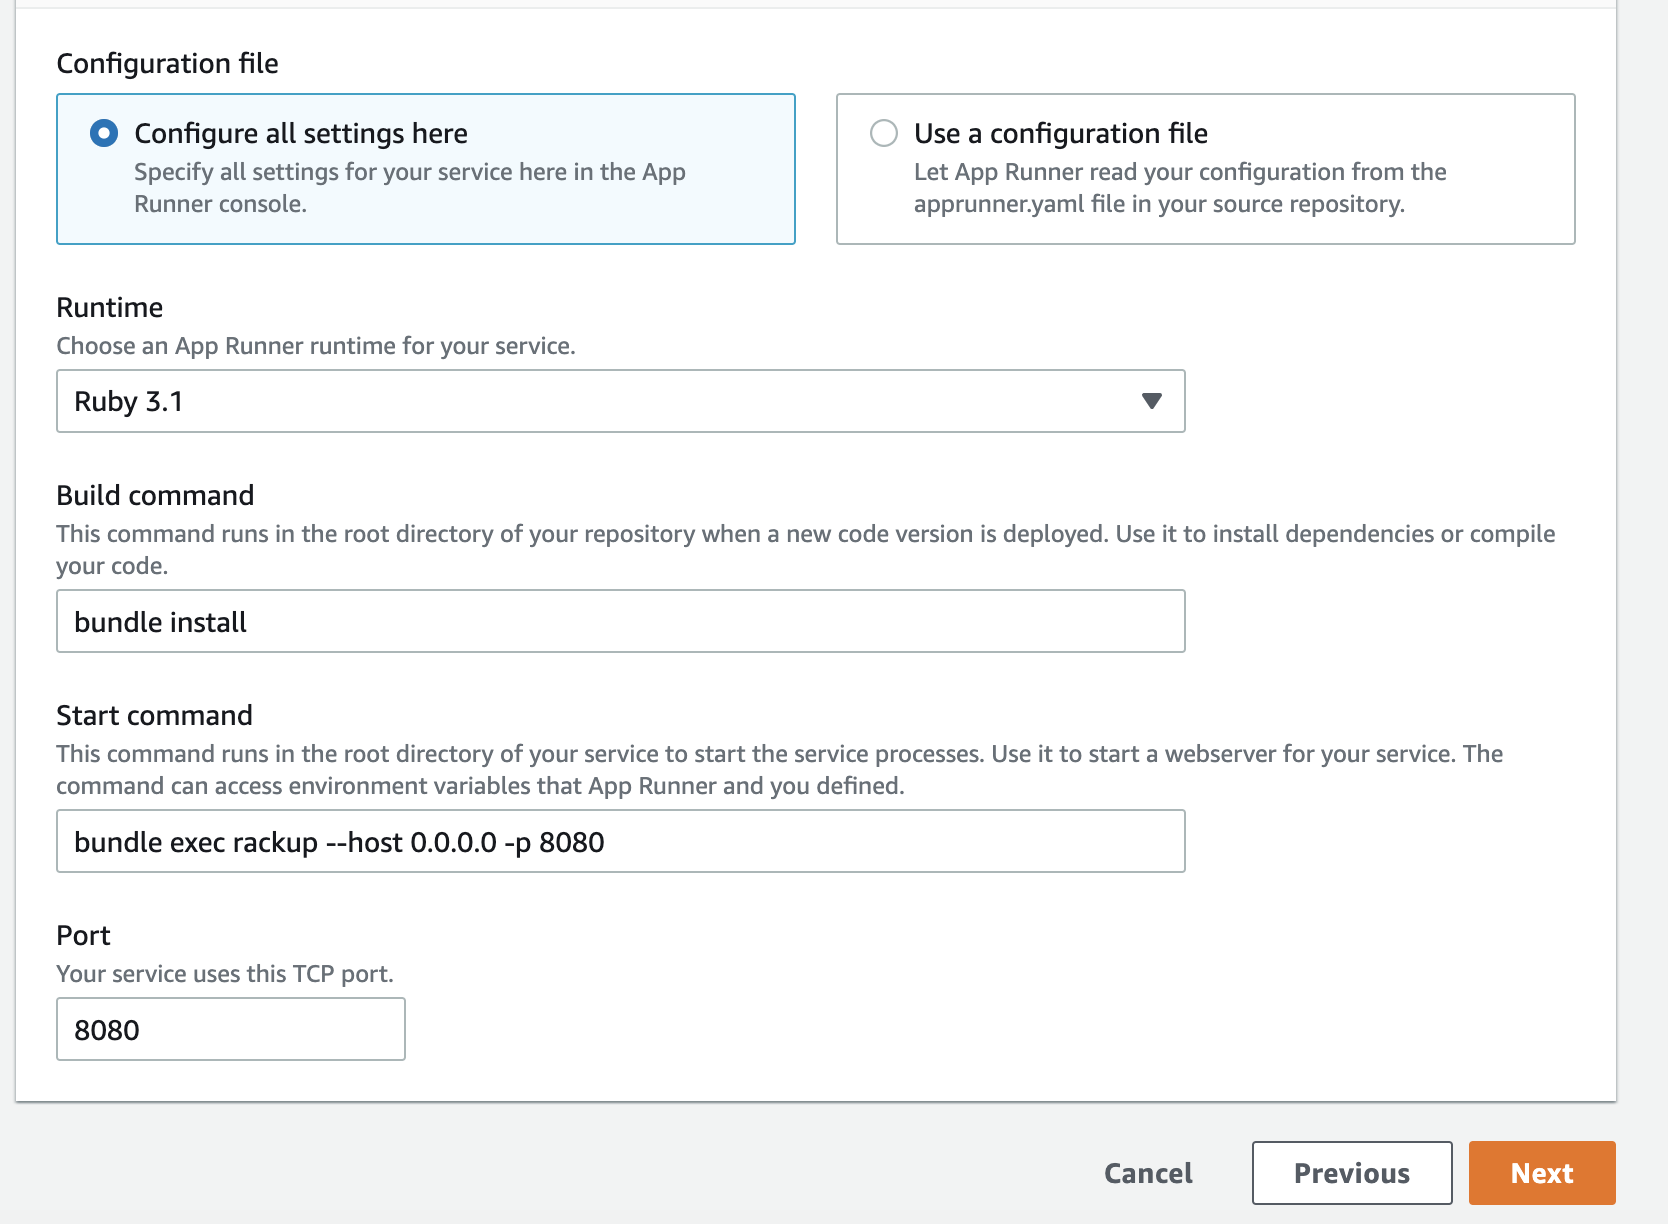
We have two options - configuration in the console or via a yaml configuration file (you will need to add apprunner.yaml to your repository). Our application is simple enough that we only need a few commands in the AWS console:
- Let's first select the Ruby 3.1 runtime.
- Specify bundle install as build command.
- For start command type bundle exec rackup --host 0.0.0.0 -p 8080
- Leave the port unchanged.
Hit next.
Step 3 - Service settings
Let's start by adding the name of our application. If you have any environment variables to add - now is the time.
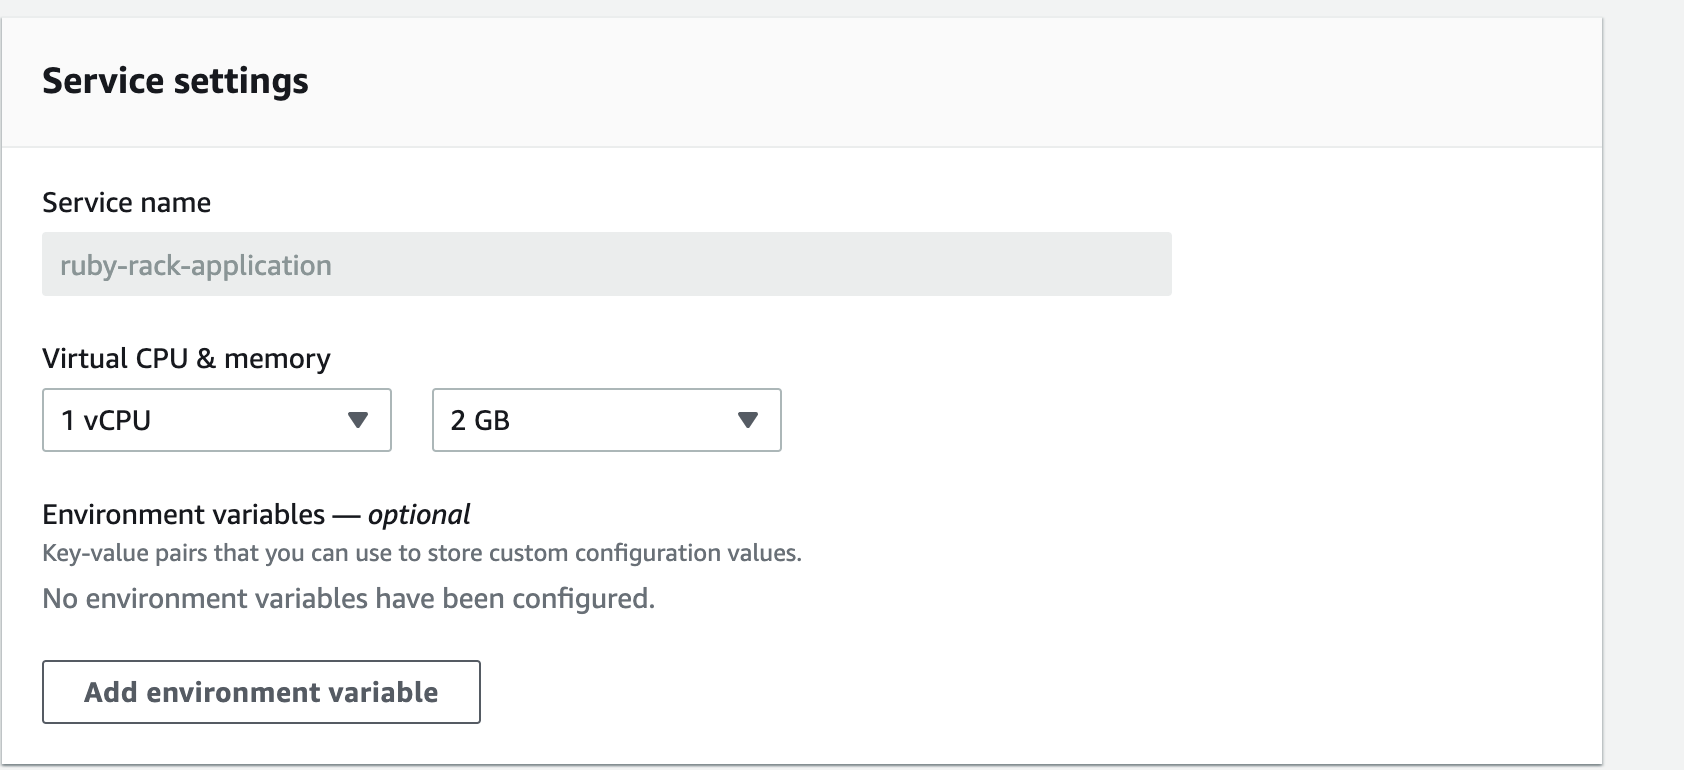
For the purpose of this tutorial we will not play with all the options, we will use all the defaults. You can set:
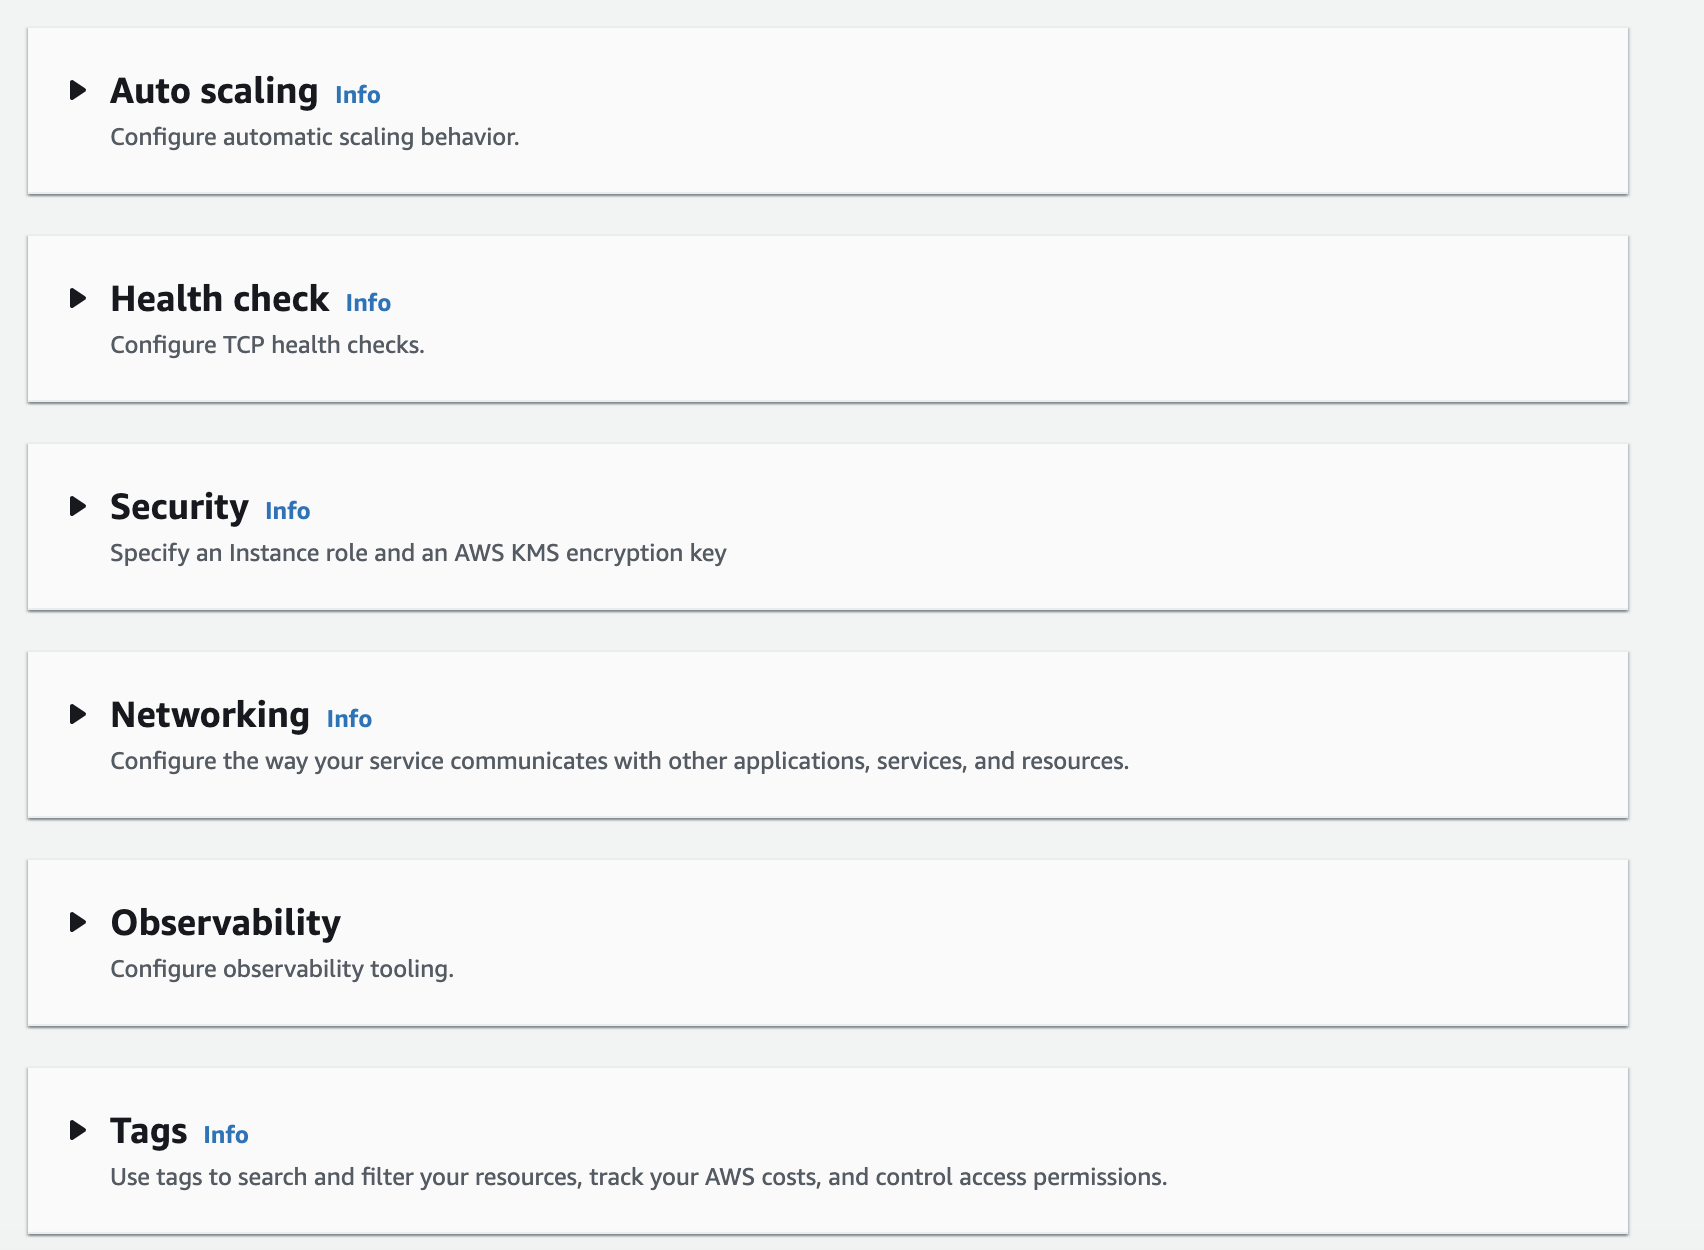
- Auto scaling (keep in mind that the minimum number of running instances is one).
- Health check (app Runner performs a TCP health check at the port that your application is listening to).
- Security (KMS).
- Networking (settings for incoming network traffic - whether it is public or private endpoint, or outgoing network traffic settings).
- Observability(tracing with X-Ray AWS service).
- Tags (useful for tracking costs).
Step 4 - Review and create
In the last step we have a preview of what we have set up in the console, if everything is ok press create & deploy.
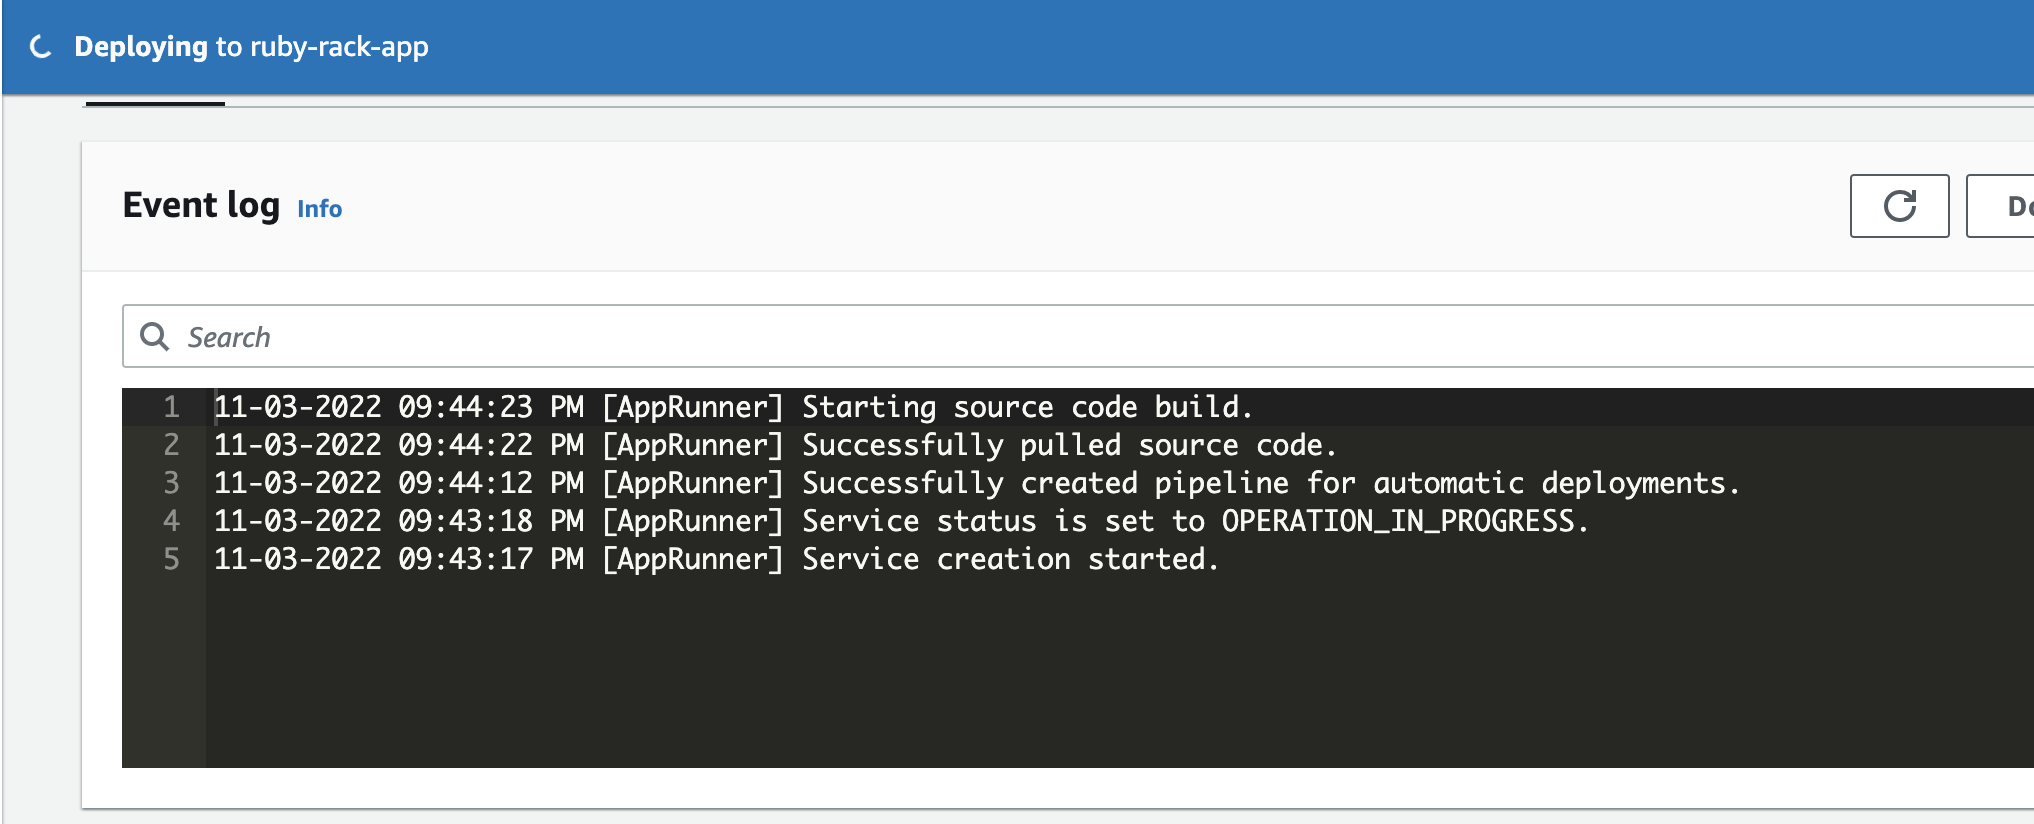
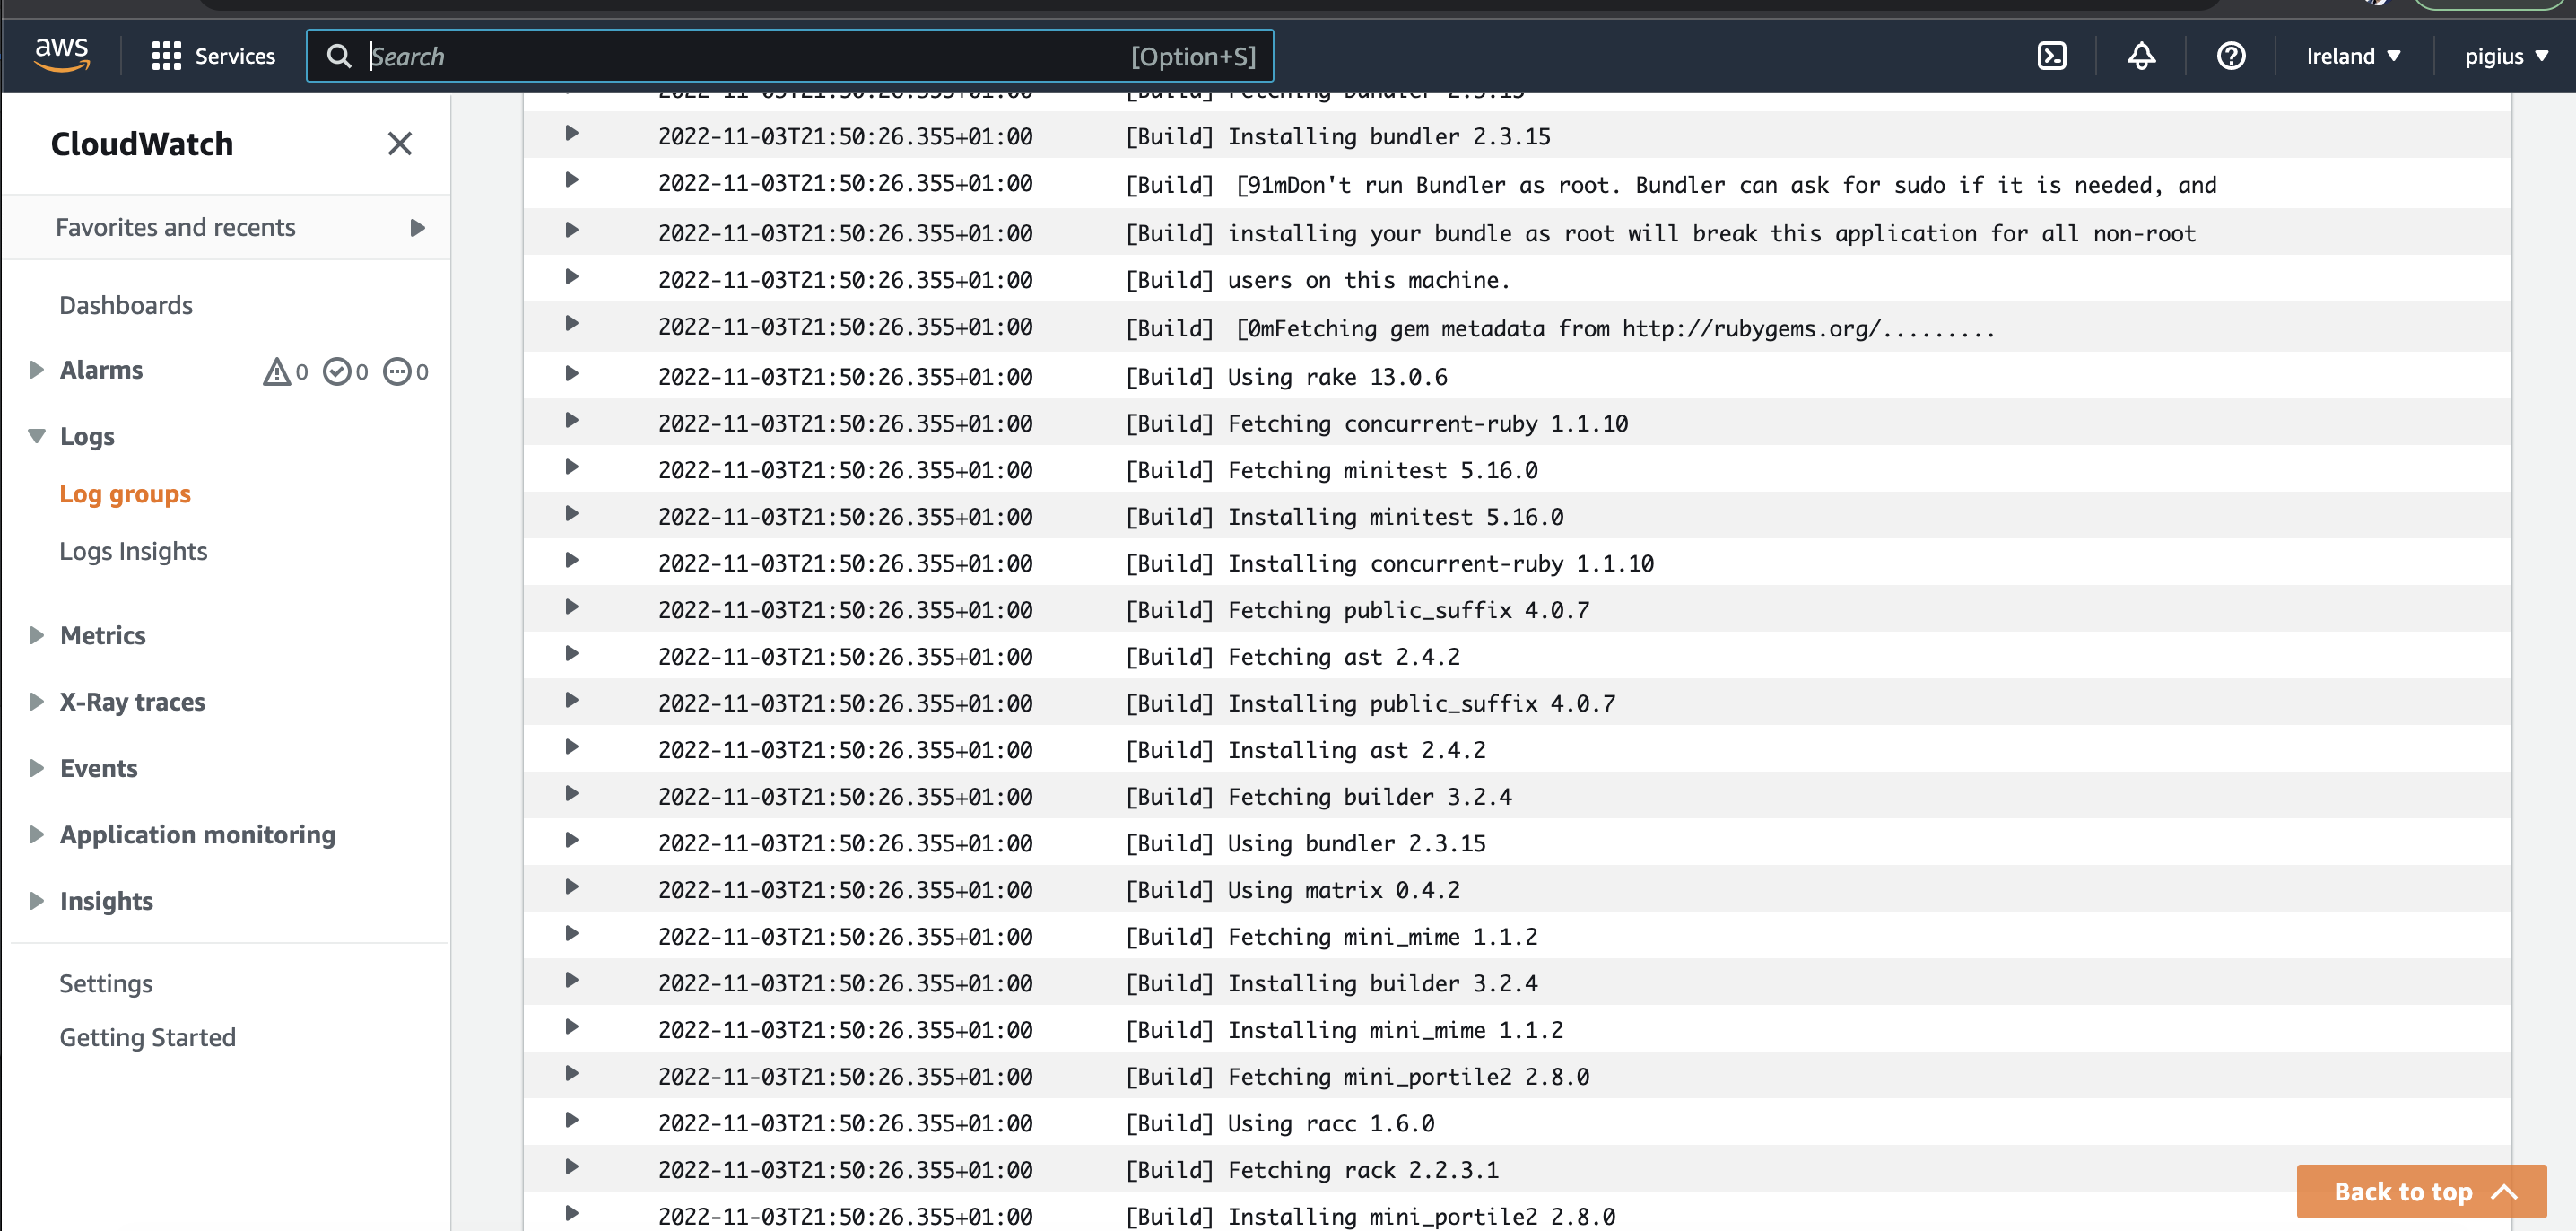
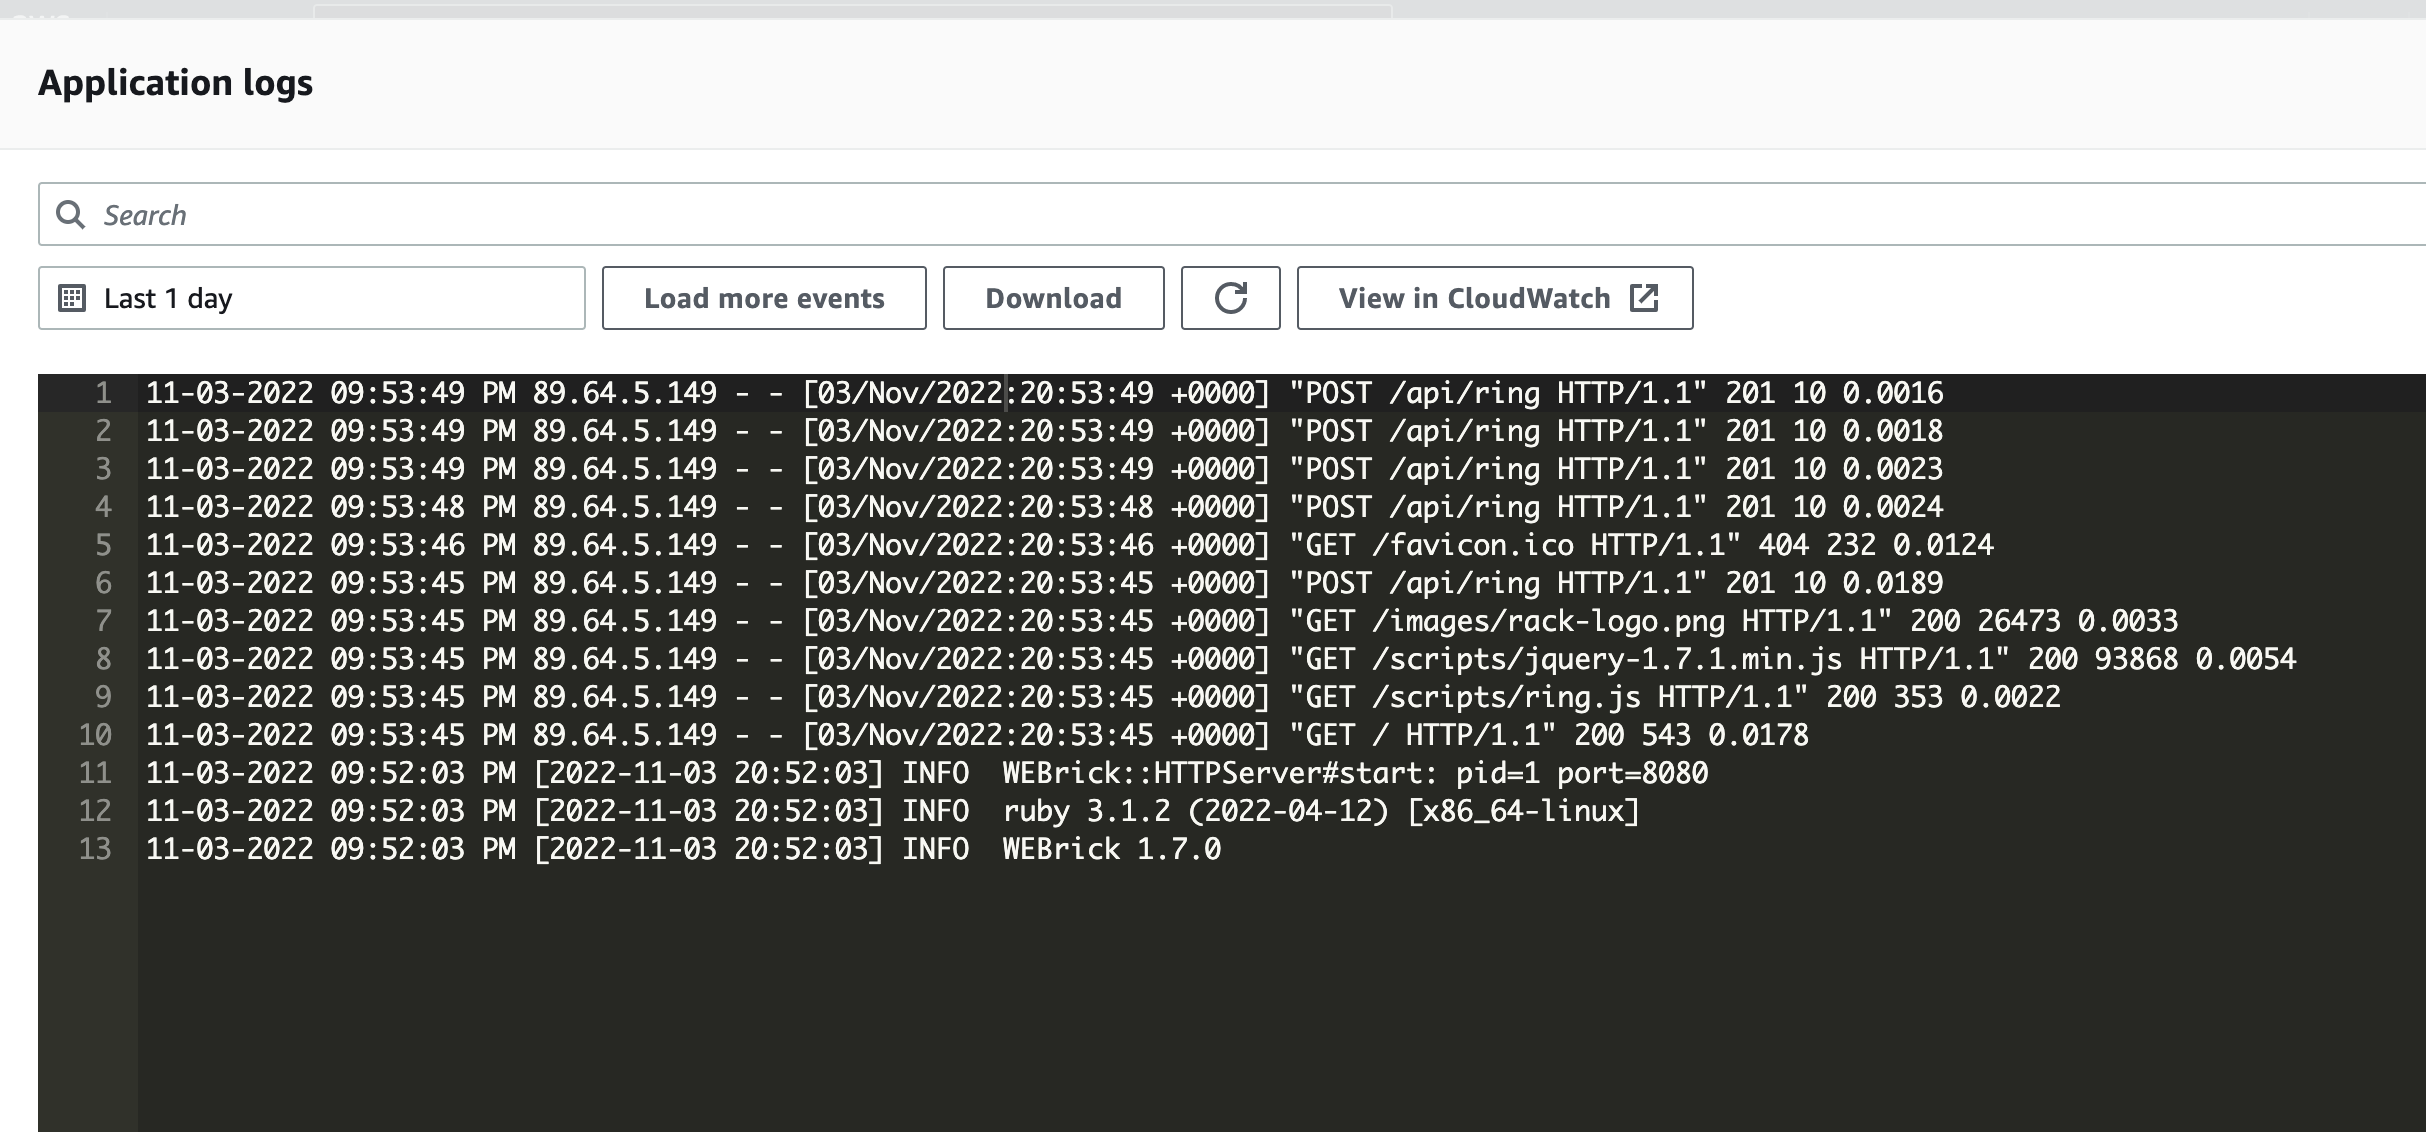
You will be redirected to the application dashboard. Wait until the application has been deployed. You can view the logs from the deployment and the logs from the application.
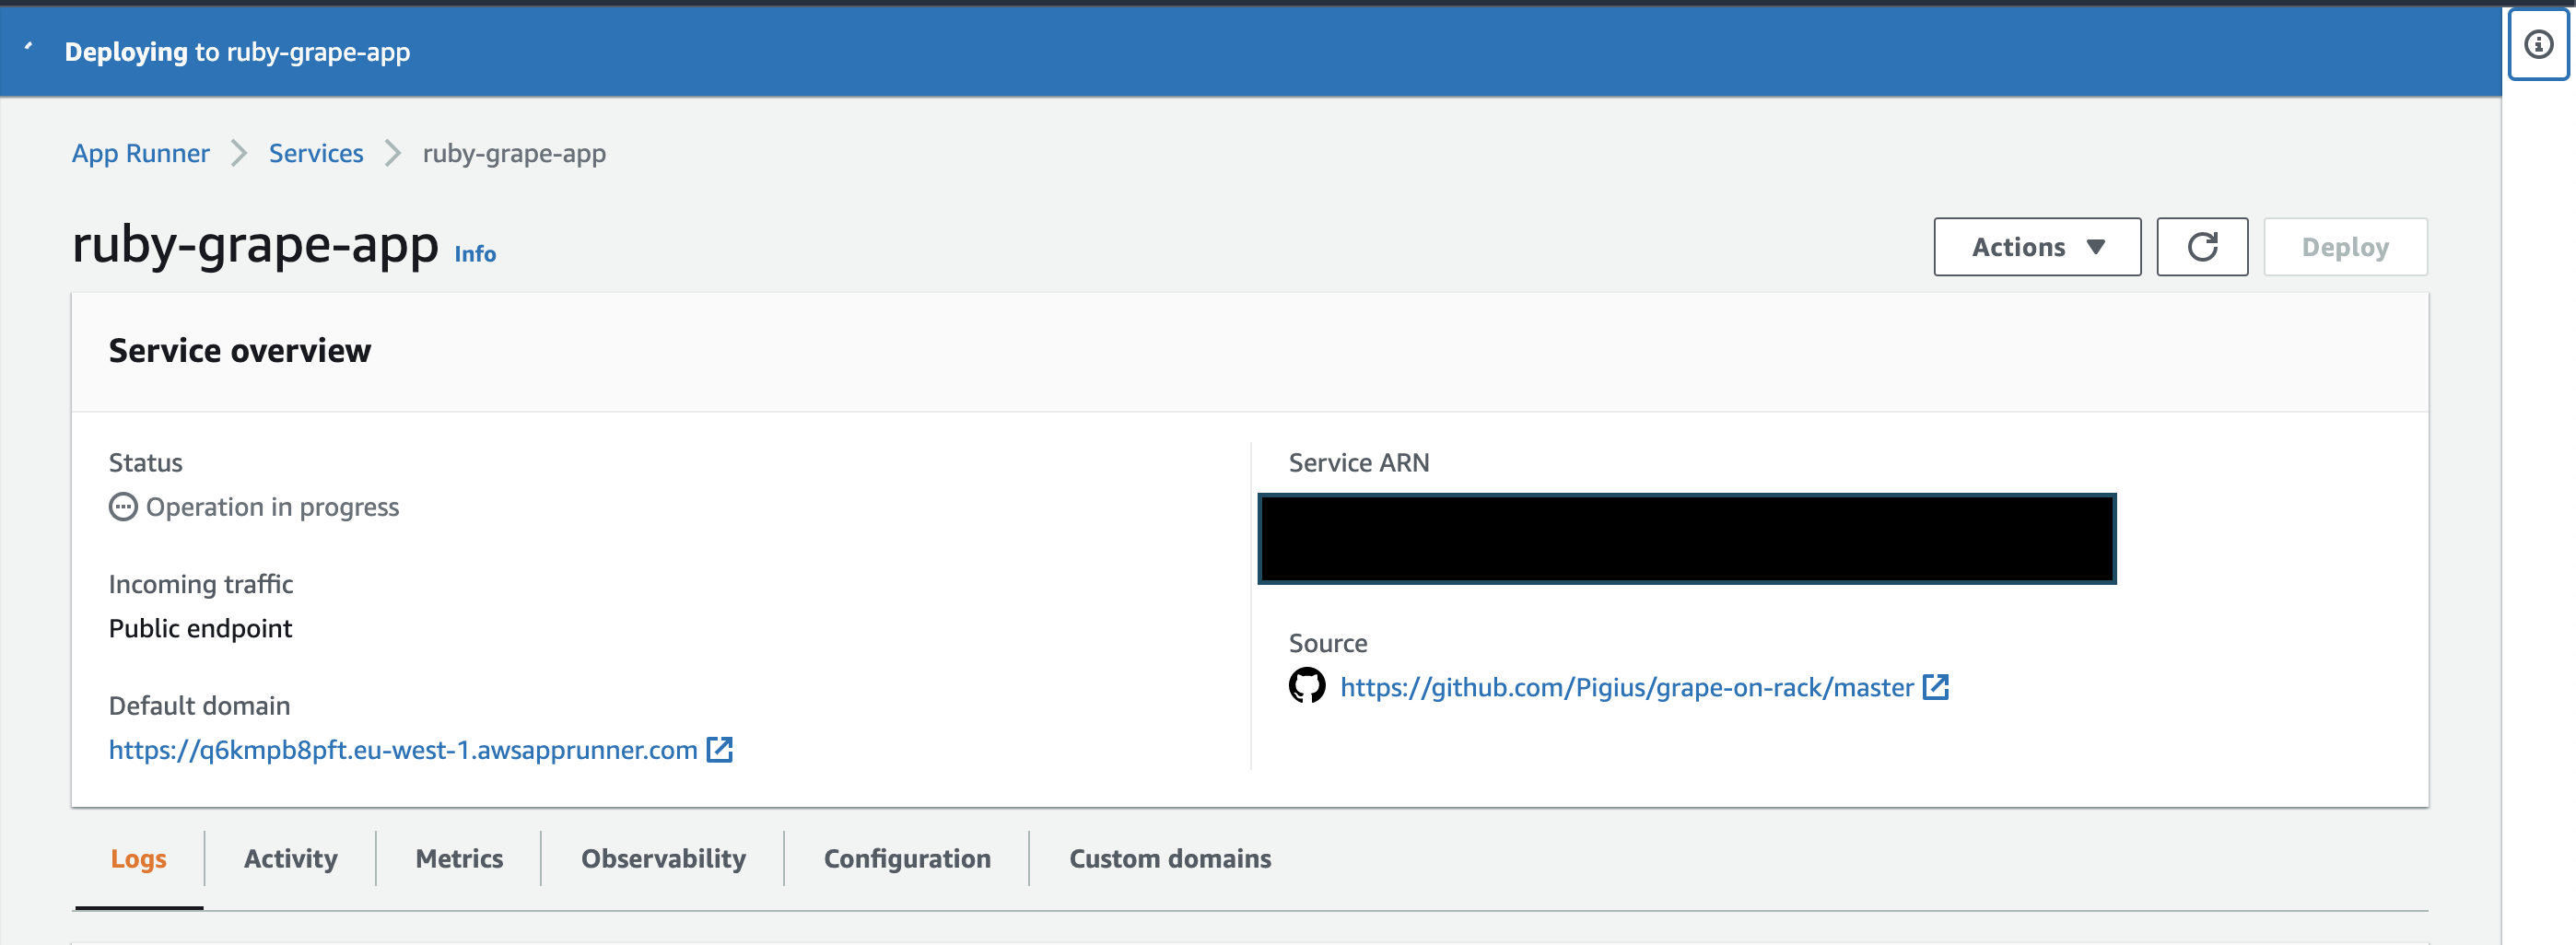
Remember - if the status is create failed, e.g. due to a bad port configuration, you cannot change the configuration, you must delete the service and try again. If the application is deployed - you can change the parameters without any problems.
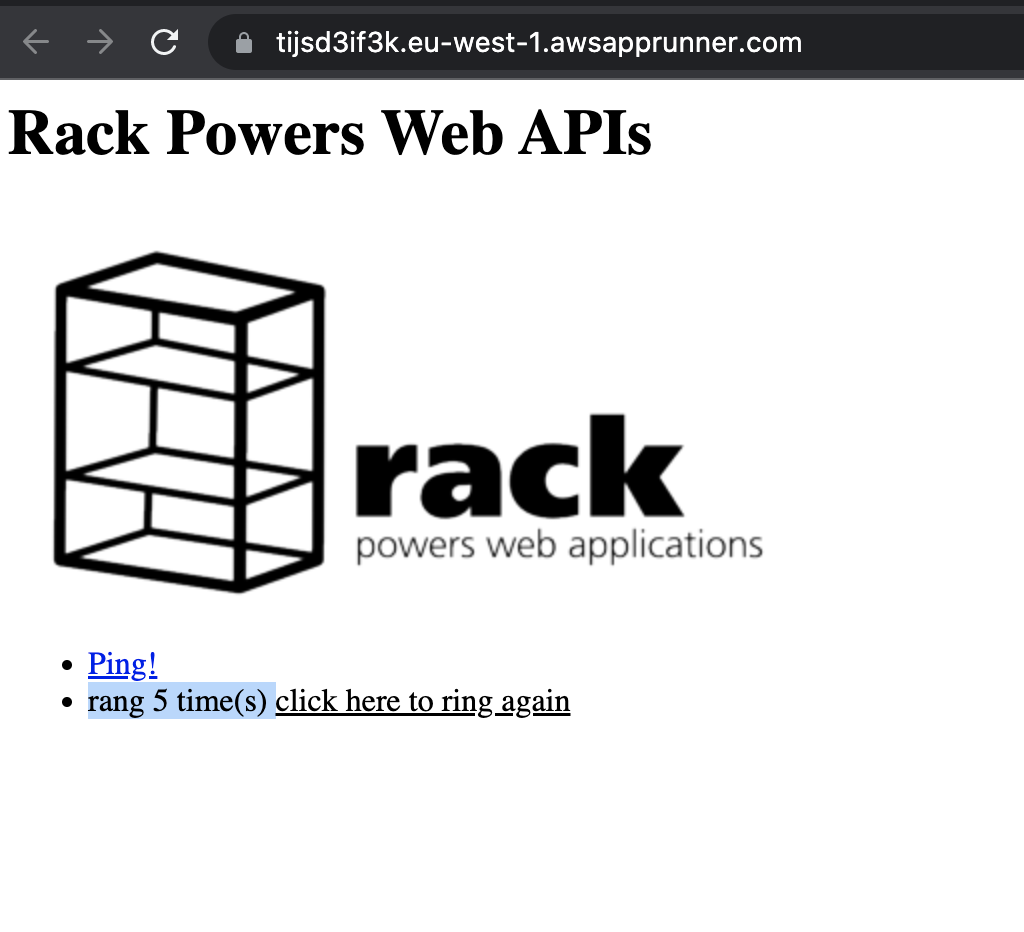
After succeed deployment you can follow the link of the application, it should work as in the picture.
And that would be it, feel free to play around with the different options (adding your own domain, reviewing the app logs). Enjoy!